Most content creators spend hours—sometimes days—rendering long-form 4K videos. When I tell people I can render a three-hour 4K ambient music video in just ten minutes, they assume I am exaggerating. I am not. With the right hardware setup and optimized DaVinci Resolve Studio settings, rendering massive video files becomes surprisingly fast.
This article breaks down my complete rendering workflow, from hardware specifications to export settings, so you can dramatically reduce your render times and spend more time creating instead of waiting.
Why Render Speed Matters for Long-Form Content
Creating ambient music videos, study sessions, or any long-form content presents unique challenges. A ten-hour video at 4K resolution can easily exceed 200GB in raw footage. Traditional rendering workflows turn this into a multi-day process, which kills productivity and makes iteration nearly impossible.
Fast rendering enables rapid experimentation. If I notice a color grading issue or want to test different loop transitions, I can re-render and review within minutes instead of losing entire days to the render queue. This speed transforms the creative process from tedious to fluid.
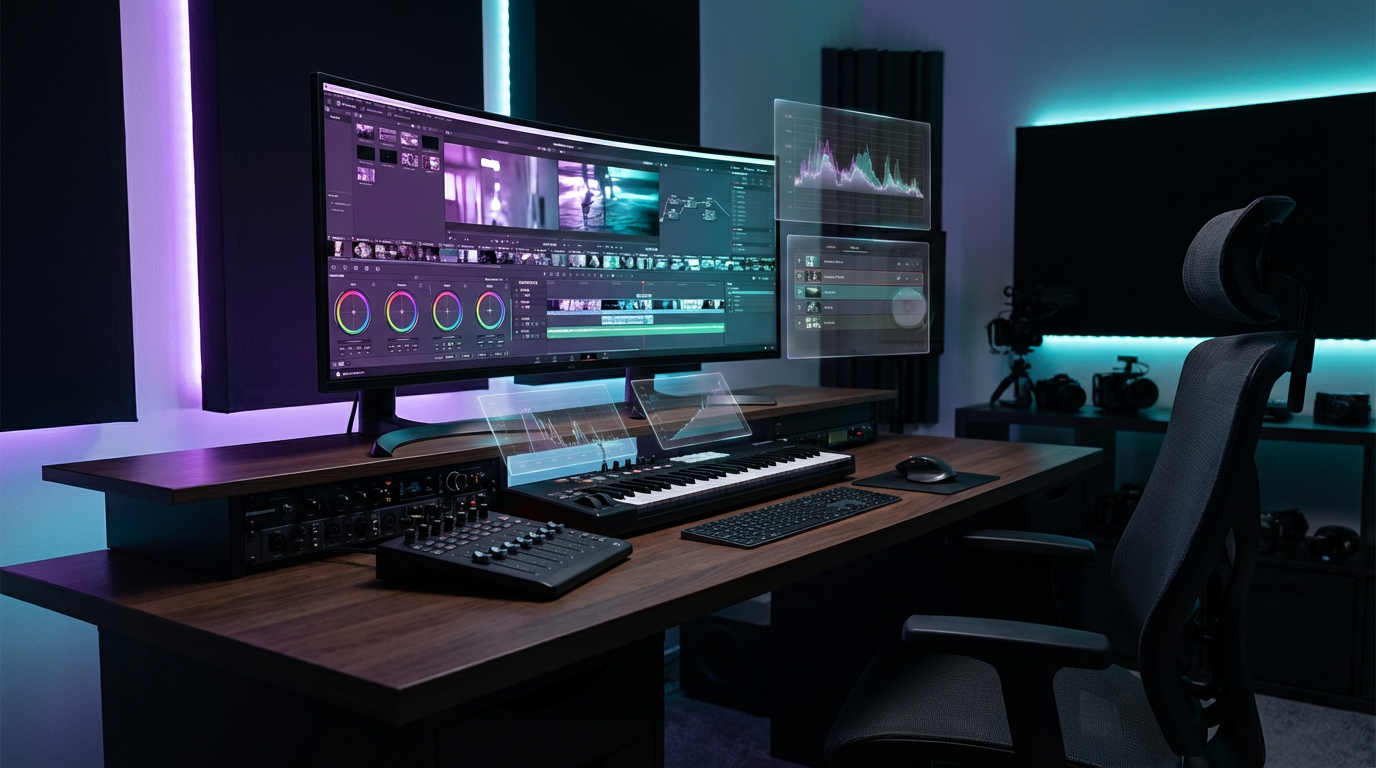
The Hardware Foundation: What Powers 10-Minute Renders
Before diving into software settings, hardware is the foundation of fast rendering. My current setup handles 4K H.265 encoding with remarkable efficiency.
My Rendering Workstation:
| Component | Specification | Why It Matters |
|---|---|---|
| Processor | Intel Core Ultra 9 285K (3.70 GHz) | High single-thread performance for timeline playback; multi-core power for encoding |
| RAM | 64GB (63.4GB usable) | Prevents memory bottlenecks when processing 4K timelines with effects |
| Graphics Card | NVIDIA RTX 5080 | Hardware-accelerated H.265 encoding via NVENC; real-time color grading |
| Storage | NVMe SSD (minimum 1TB) | Fast read/write speeds prevent I/O bottlenecks during render |
The RTX 5080 is the secret weapon here. NVIDIA's NVENC encoder handles H.265 compression in hardware, offloading the CPU and delivering near-real-time encoding speeds. Without GPU acceleration, the same three-hour video would take two to three hours to render instead of ten minutes.
The Intel Core Ultra 9 285K provides excellent multi-threaded performance for DaVinci Resolve's render engine. While AMD Ryzen processors also work well, Intel's Quick Sync Video technology offers additional hardware encoding options that complement NVENC.
RAM capacity matters more than speed for video editing. DaVinci Resolve caches frames in memory during rendering, and 64GB ensures smooth operation even with complex timelines featuring multiple video layers, effects, and color grading nodes.
DaVinci Resolve Studio vs Free Version
One critical distinction: I use DaVinci Resolve Studio, the paid version. While the free version is incredibly powerful, Studio unlocks hardware acceleration features essential for fast rendering.
Key Studio Advantages for Rendering:
- H.265 (HEVC) Export: The free version limits H.265 encoding, forcing you to use H.264, which produces larger files at equivalent quality
- GPU Acceleration: Studio fully utilizes NVIDIA and AMD GPU encoding, while the free version has limitations
- 10-bit Color Depth: Essential for professional color grading without banding artifacts
- Faster Render Speeds: Studio's optimized render engine leverages all available hardware
The one-time purchase of DaVinci Resolve Studio (currently $295) pays for itself quickly when you consider the time saved on every render. For professional content creators, it is a non-negotiable investment.
My Exact DaVinci Resolve Export Settings
Here are the precise settings I use in the Deliver page of DaVinci Resolve Studio. These settings balance file size, quality, and render speed for YouTube uploads.
Format and Codec
Format: MP4
Codec: H.265 (HEVC)
H.265 offers approximately 50% better compression than H.264 at the same quality level. For a three-hour 4K video, this means an 80GB file instead of 160GB—crucial for upload times and storage costs.
Resolution and Frame Rate
Resolution: 3840 x 2160 (4K UHD)
Timeline Frame Rate: 24 frames per second
I use 24fps for ambient videos because it creates a cinematic feel and reduces file size compared to 30fps or 60fps. For music content where motion is minimal, the difference between 24fps and higher frame rates is imperceptible, but the file size savings are substantial.
Quality Settings
Quality: Automatic (Best)
Bitrate: 80,000 Kb/s (80 Mbps)
Rate Control: Variable Bitrate
Variable bitrate (VBR) is essential for long-form content. It allocates more bits to complex scenes (like detailed cityscapes) and fewer bits to static scenes (like slow pans over blurred backgrounds). This produces smaller files than constant bitrate (CBR) without sacrificing quality.
An 80 Mbps bitrate for 4K H.265 is on the high end, ensuring YouTube's compression does not introduce artifacts. For reference, YouTube recommends 53-68 Mbps for 4K uploads, but I prefer the extra headroom.
Advanced Encoding Settings
Encoding Profile: Auto
Key Frames: Automatic
Frame Reordering: Enabled (checked)
Preset: Faster
Tuning: High Quality
Two Pass: Disable
Lookahead: 16 frames
Enable Adaptive B-frame: Checked
AQ Strength: 8
These settings leverage NVIDIA's NVENC hardware encoder. The "Faster" preset prioritizes speed while "High Quality" tuning ensures minimal quality loss. Two-pass encoding is disabled because it doubles render time with marginal quality improvement—unnecessary for YouTube uploads.
The lookahead value of 16 frames allows the encoder to analyze upcoming frames and optimize bitrate allocation. Higher values improve quality slightly but increase render time.
Audio Settings
Codec: AAC
Bitrate: 320 Kb/s
Sample Rate: 48 kHz
Audio quality is critical for music content. AAC at 320 Kb/s is the highest quality YouTube supports and ensures no audible compression artifacts. Lower bitrates (like 128 Kb/s) introduce noticeable degradation in ambient soundscapes.
The Render Process: What Actually Happens
When I click "Add to Render Queue" in DaVinci Resolve, here is what happens behind the scenes:
Step 1: Timeline Analysis
DaVinci Resolve analyzes the timeline, identifying which frames need rendering. If I have used Smart Cache or Render Cache, pre-rendered sections are skipped, further reducing render time.
Step 2: GPU Encoding
The NVENC encoder on the RTX 5080 begins compressing frames to H.265. This happens in parallel with CPU-based color grading and effects processing. The GPU handles encoding while the CPU focuses on applying Fusion effects, color corrections, and transitions.
Step 3: Audio Processing
Simultaneously, the Fairlight audio engine processes the soundtrack, applying any EQ, compression, or normalization before encoding to AAC. Audio rendering is typically fast and does not bottleneck the process.
Step 4: File Writing
The encoded video and audio streams are multiplexed into an MP4 container and written to the NVMe SSD. Fast storage ensures this final step does not slow down the overall render.
For a three-hour video, this entire process completes in approximately ten minutes. A ten-hour video takes around thirty minutes—still remarkably fast compared to traditional workflows.
Optimizing DaVinci Resolve for Maximum Speed
Beyond export settings, several DaVinci Resolve preferences and project settings impact render speed.
Enable GPU Acceleration
Navigate to Preferences > System > Memory and GPU and ensure your NVIDIA GPU is selected for processing. Under Preferences > Video and Audio I/O, enable "Use NVIDIA GPU for decode" and "Use NVIDIA GPU for encode."
Use Optimized Media and Render Cache
For complex timelines with heavy effects, generate optimized media or render cache before final export. This pre-renders effects and color grading, so the final render only handles encoding.
Go to Playback > Render Cache > Smart to automatically cache sections that benefit from pre-rendering.
Disable Unnecessary Effects During Render
If you have added effects for preview purposes (like on-screen timers or watermarks), disable them before rendering if they are not needed in the final export. Every active effect adds processing overhead.
Close Background Applications
Rendering is resource-intensive. Close web browsers, streaming services, and other applications to free up CPU, GPU, and RAM for DaVinci Resolve.
Common Rendering Mistakes to Avoid
Even with powerful hardware, certain mistakes can slow down rendering or produce suboptimal results.
Using H.264 Instead of H.265
H.264 is older and less efficient. For 4K content, H.265 produces significantly smaller files at the same quality. The only reason to use H.264 is compatibility with very old devices, which is rarely a concern for YouTube uploads.
Setting Bitrate Too Low
YouTube re-compresses uploads, so starting with a high-quality source is essential. A 4K video encoded at 20 Mbps will look noticeably worse after YouTube's compression than one encoded at 80 Mbps.
Rendering to HDD Instead of SSD
Hard disk drives (HDDs) are too slow for 4K rendering. Always render to an SSD to avoid I/O bottlenecks.
Ignoring Timeline Resolution Mismatch
If your timeline resolution does not match your export resolution, DaVinci Resolve must scale every frame, adding processing time. Always set your timeline resolution to match your intended export resolution.
Forgetting to Enable Hardware Encoding
If GPU acceleration is disabled, rendering falls back to CPU-only encoding, which is dramatically slower. Always verify GPU settings before starting a long render.
File Size and Upload Considerations
A three-hour 4K video at 80 Mbps results in an 80GB file. While this seems large, it is necessary for maintaining quality through YouTube's compression.
Upload Strategy:
I upload directly to YouTube using a wired Ethernet connection. With gigabit internet, an 80GB file uploads in approximately 15-20 minutes. If your internet is slower, consider rendering overnight and uploading during off-peak hours.
Storage Management:
I keep raw project files and final renders on separate drives. Once a video is successfully uploaded and published, I archive the raw footage to external storage and delete local copies to free up space.
Real-World Render Time Comparisons
To put my workflow in perspective, here are render time comparisons for a three-hour 4K video across different setups:
| Setup | Render Time | Notes |
|---|---|---|
| My Setup (RTX 5080 + Core Ultra 9) | 10 minutes | H.265 hardware encoding |
| Mid-Range PC (GTX 1660 + Ryzen 5) | 2-3 hours | Limited GPU encoding support |
| Older Workstation (CPU-only encoding) | 6-8 hours | No hardware acceleration |
| MacBook Pro M2 Max | 20-30 minutes | Excellent but slower than dedicated NVIDIA NVENC |
The difference is dramatic. Investing in a high-end GPU specifically for video encoding transforms the workflow from tedious to efficient.
Is This Workflow Right for You?
This workflow is ideal if you create long-form content regularly—ambient music videos, study sessions, podcasts with video, or any project where render time is a bottleneck.
You Need This Workflow If:
- You render videos longer than one hour regularly
- You iterate on projects and need fast turnaround times
- You upload 4K content to YouTube or other platforms
- You want to maximize quality while minimizing file size
You Might Not Need This If:
- You create short-form content (under 10 minutes)
- You only render occasionally and time is not a constraint
- You work in 1080p or lower resolutions
For creators in the first category, the combination of DaVinci Resolve Studio, a powerful GPU, and optimized settings is transformative.
Conclusion: Speed Enables Creativity
Rendering should not be a creative bottleneck. With the right hardware and settings, even massive 4K projects render in minutes instead of hours. This speed unlocks experimentation, rapid iteration, and a more enjoyable creative process.
My workflow—DaVinci Resolve Studio, an RTX 5080, H.265 encoding at 80 Mbps—delivers professional-quality results in a fraction of the time traditional methods require. If you create long-form content, investing in similar tools and optimizing your settings will pay dividends in time saved and creative freedom gained.
The next time someone asks how I render ten-hour videos so quickly, the answer is simple: the right tools, the right settings, and a workflow built for speed.
TAGS
Share this article